

Paper Chain Christmas Countdown

This post contains affiliate links. For more information see the affiliate disclaimer. Never leave children unattended when doing crafts.
Let’s take a look at how an easy DIY Christmas paper chain can make the wait for Christmas a lot easier for kids and parents. Start this new Christmas tradition today.
Especially young children and toddlers are still struggling to understand the concept of time. It is a very abstract concept, that they cannot grasp yet. So when they are waiting for something exciting, like Christmas, not understanding for how much longer they have to wait, can get very frustrating to them.
My 4-year-old daughter has always gotten so excited for holidays. So the weeks leading up to Christmas, she would ask me multiple times a day ‘how many more days until Christmas?!’. She would get very frustrated because she just did not understand the concept of time. Telling her how many more days or weeks she had to wait was not helpful.
And that is when I found the perfect solution: A paper chain Christmas countdown.
A paper chain makes it so much easier for children to understand time. They can see how the chain gets shorter each day. So instead of feeling that time is not moving they can SEE how days pass and they get closer and closer to Christmas each day.
How to make a paper chain countdown
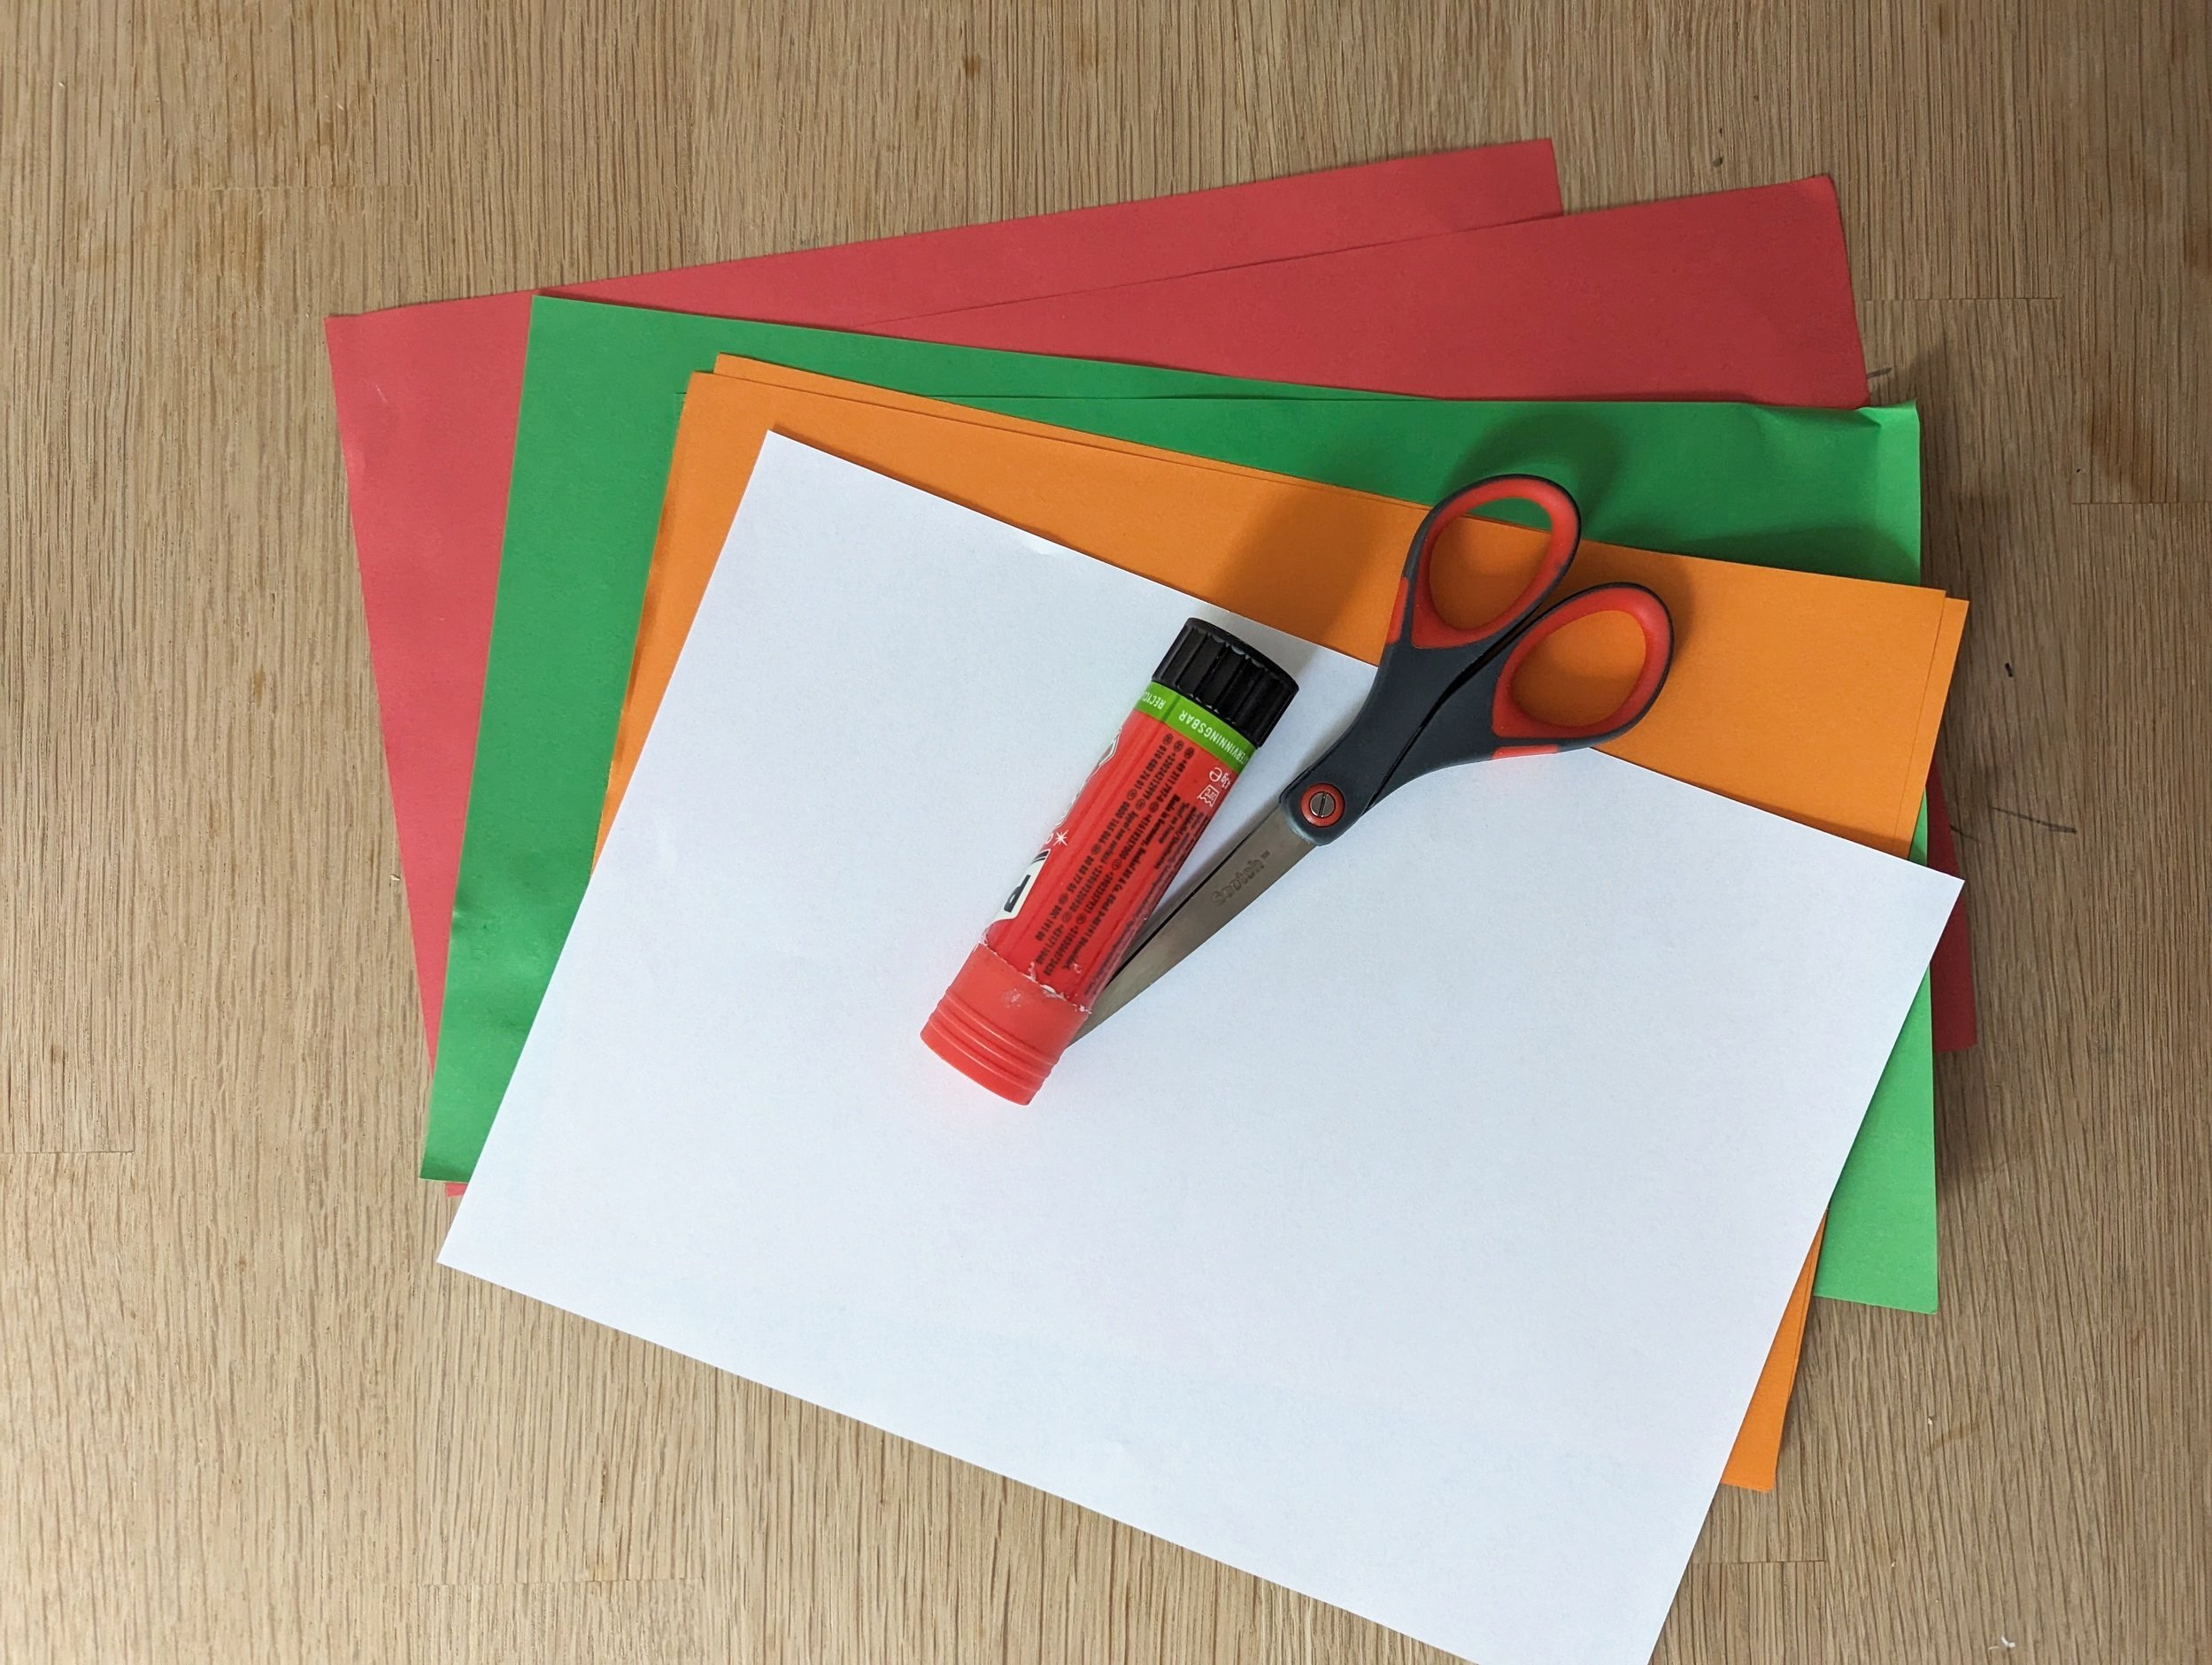
Making a DIY paper chain Christmas countdown is easy and cost almost nothing. All you need are materials, you most likely already have at home:
1. Decide which colors you want to use for your chain links.
2. Cut the paper in strips. You will need as many strips as days you want on your countdown chain. For example, if it is 20 days until Christmas, you will need 20 paper strips. You can make the strips as wide and long as you like. Smaller strips will make a smaller chain, larger strips will make a bigger chain. We cut 6 paper strips out of one regular craft stock paper.
This is a great opportunity to let your child practice their scissor cutting skills, since they only need to make one straight cut. It does not matter if the strips are cut perfectly or not.

3. Add a little bit of glue to one end of one paper strip. Attach the other end to it, forming a link/ circle.


4. Now thread another paper strip through the link you made. Add glue to one end and attach the other end to form another link. You now have two interlocked chain links. Continue this until you have reached the chain length you need.
5. This step is optional. I like to add a little picture or symbol to my paper chains so it is easier for my children to understand what the chain is for. We love paper chains in this house, so often we have multiple countdowns going. Right now we also have a Halloween countdown.

For this Christmas chain we added a simple Christmas tree cutout. My daughter cut out a Christmas tree from green paper, we added a yellow star and drew on some lights.

6. Hang everything up. I recommend hanging it where your kids can reach.

How to use the paper chain Christmas countdown
Each day leading up to Christmas, have your children either rip off or cut off ONE chain link. Your kids will observe how the chain gets shorter every day. They will SEE the time pass and understand that they are getting closer to Christmas with each passing day.
You can also use the paper chain to practice some counting. Every day, when your children take off one link, have them count the remaining links. You can also talk about how many links there were yesterday, how many links there will be tomorrow, and so on. This will be a great playful way to practice some easy addition and subtraction.
And that’s it!
If you are looking for more DIY Christmas fun, take a look at these easy DIY Christmas cards and surprise your family with personal cards this year.
Help your kids understand time and start a Christmas paper chain countdown tradition today!
XX

